This article describes how to create ASP.NET MVC application as a WebRole and to speed it up by using CacheRole introduced in Windows Azure Platform release 1.7 (also called Spring Release [2012]). The way how the distributed cashe works and how it can be consumed by an application didn’t really change. Because of that I will focus only new features, because the way how they are build up and how they works has been slightly changed in this release.
Create Solution with Cache Role
To build solution I will use Visual Studio 2012 and Windows Azure SDK 1.7. If you didn’t install it already do it as described in my previous post here.
Now create the solution and add one WebRole (for example ASP.NET MVC4) and the CacheWorkerRole (I will explain it a bit latter).
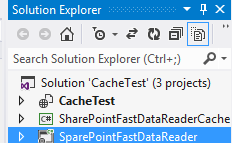
The project SharePointFastDataReaderCache is of type CacheWorkerRole and it represents the virtual machine which will host dedicated instance of distributed cache. This cache will be consumed by project (WebRole) SharePointFastdata reader. Please don’t' be confused with SharePoint name. It is not my focus in this article. I just used an existing solution which does the more or less same thing with SharePoint.
The just created role is in fact WorkerRole which is place holder for Distributed Cache Service. That means: “Do not add any code to that role!!” Before you do deployment select the Worker Cache Role and go to properties (dbl-click on SharePointFastDataReaderCache ). Select enable cache and click on Dedicated Role as shown below.
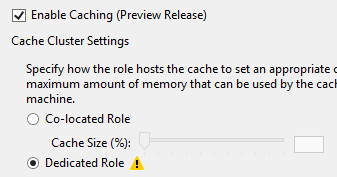
If you have added Cache as role project, you should select “dedicated role”. In this case Windows Azure will during deployment process allocate Virtual Machine (or more if you have selected more than one instance) and install Distributed Cache Service on it (them). If you don’t want to have dedicated machine for cache then go to properties of you WebRole and select Co-located Role, Windows Azure will in this case install distributed cash service on the same machine where you web role is running. In this case you even don’t need Worker Cache Role as project. But you can have it. It might be that you are doing lot of caching and from architecture point of view this might also be a valid solution. I means you have Worker Cache Role as dedicated cache and you also have co-located cache at the WebRole. Physically you would by deployment allocate two different caches with number of chosen instances for each of them.
If you ever worked with Windows Server AppFabric (WSA) similar version of cache will be installed in the slightly different version of cache. In contract to WSA the new one is called simply CacheService. Remember, WSA cache service is called “AppFabricCachingService”. Following pictures shows task manager of the WinAzure machine which host cache as dedicated role.
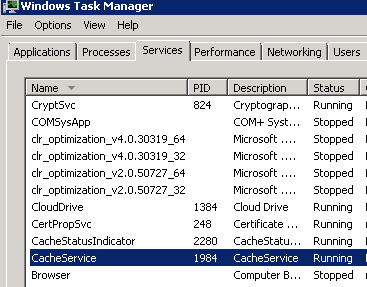

I captured pictures by connecting to dedicated worker cache role (if Dedicated Role is used) and by connecting to WebRole (if Co-Located cache has been used).
If the WebRole don’t specify the cache processes and services shown above will not be installed on the machine.
Co-located cache-role would be configured as shown at the next picture.
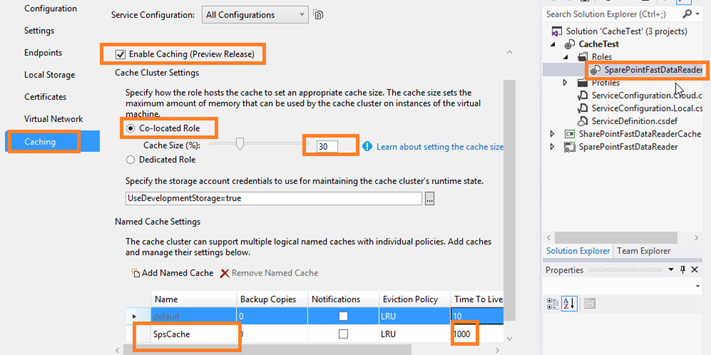
In the picture above is also shown how to add additional caches to the cache instance. remember, this has not been possible by using Windows Azure Cache in version 1.6.
Note that emulator of cache is also provided. The cache is emulated by the cache service emulator. In the picture below, I captured emulator for two cache instances.

Last, but not least the cache instance provisioned here (v1.7) is different one than cache instance v1.6 known as Windows Azure AppFabric Cache, which is shown at the picture below:
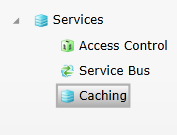
Installing cache Client components
After that you have created the solution you will have to install Windows Azure Caching (currently in preview.) libraries by using NuGet. Note that value “Include Prereleases“ (see picture below) is selected in the combo. Otherwise you will find the NuGet package Windows Azure Caching (almost the same name), which is related to version 1.6. That one will not work in this scenario. Even better to say, this one will work, but you will have to use Windows Azure AppFabric cache, which is not the same as Windows Azure Cache Role, which we will focus in this article. Following picture shows what and how to install by NuGet.

After the package has been successfully installed following references are added to project.
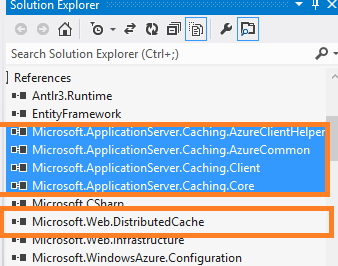
Additionally the package inserts following section in the configuration file. This section looks slightly different that the common caching section.
The identifier specified in dataCacheClient element is the name of the role which hosts physically distributed cache. For example following configuration will setup using of dedicated cache deployed by the Worker Cache Role.

If you rather used the Co-located cache in your WebRole (no Worker Cache Role used) then only identifier has to be changed to the name of the WebRole instead of dedicated cache role as shown below:

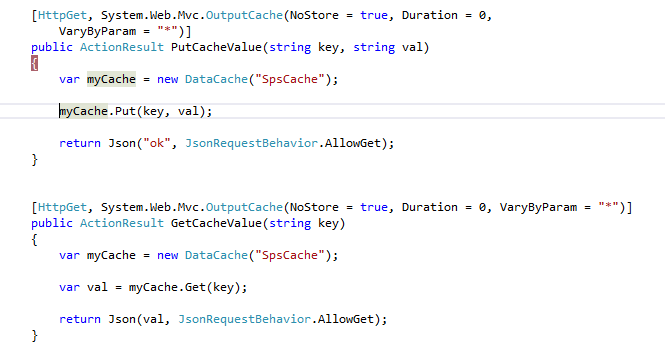
In the MVC (WebRole) application I defined two actions PutCacheValue and GetCacheValue. Please note in picture below that output-cache has been disabled. This is very important, because output-caching (which is feature of ASP.NET) would prevent the system to work properly.
The JavaScript functions which puts value in the cache and gets it out look like:
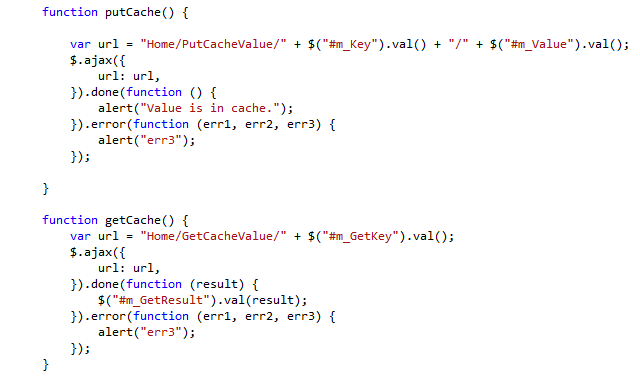
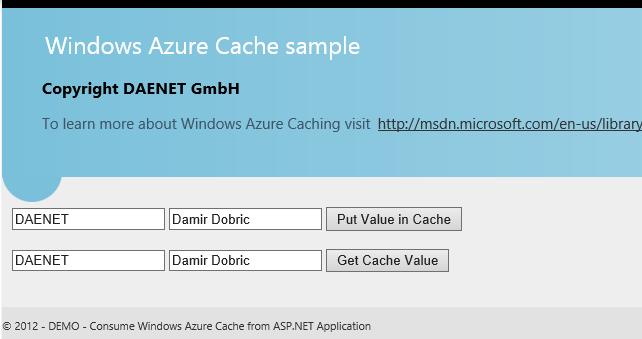
At the end the sample application looks like:
More about Caching: https://www.windowsazure.com/en-us/develop/net/how-to-guides/cache/
Posted
Jun 17 2012, 08:13 PM
by
Damir Dobric