If you have ever worked with SOAP, it is most likely that you have get in touch with WSDL, which is used to generate service proxy code on the client side. In the meantime REST became more popular, but many SOAP established features were not available. “Now” we have SWAGGER, which helps generating of REST service documentation and client proxies. Assuming that your REST web service is running and has published a swagger endpoint as shown at following picture, you can start writing client code.

Once you have properly enabled SWAGGER in your REST service (in context of WebApi) you can import it in your client application as shown at the picture below:
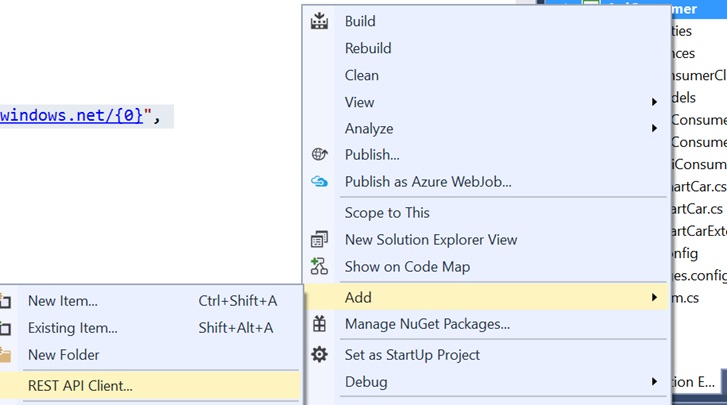
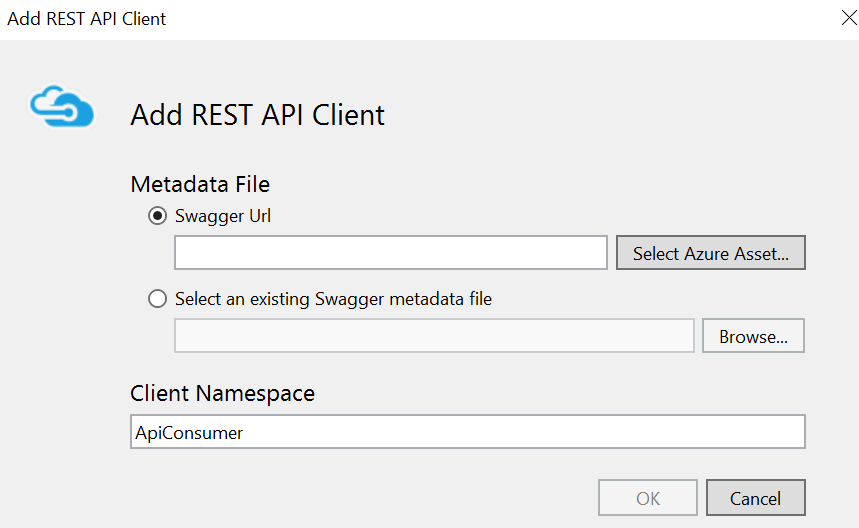
After that you can import metadata into your client application, which will automatically generate client’s service proxy code.
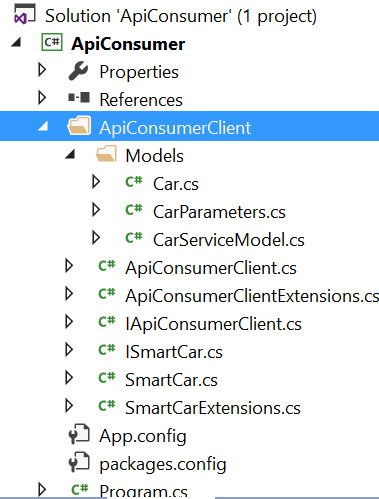
After successful import, your project will be extended with proxy code:
To invoke some service operation you need to do following:
static void Main(string[] args)
{
ApiConsumerClient api = new ApiConsumerClient(credentials);
var cars = api.SmartCar.QueryCars();
}
|
As you see, it is much easier, them to provide a client REST code. From that perspective we are now at least at productivity level with REST, where we have been with SOAP and WCF 10 years ago. But not everything is simple.
As in a case of SOAP and WCF, security is a hard topic.
Assuming that our operation is secured with AAD, we will need to do some more tweaks. To do that I have implemented method getToken(), which generates a required token. Generated token is OAuth token, which will be passed to constructor of API (there is also a property for token).
static void Main(string[] args)
{
var tokenCreds = getToken();
ServiceClientCredentials credentials = tokenCreds;
ApiConsumerClient api = new ApiConsumerClient(credentials);
//api.BaseUri = new Uri("https://localhost:44366");
var cars = api.SmartCar.QueryCars();
}
private static TokenCredentials getToken()
{
string authority = "b5..e";
string resource = "0f5..";
string clientId = "56e..";
string redirectUri = "http://mytestclient.com";
AuthenticationContext authContext =
new AuthenticationContext(string.Format
("https://login.windows.net/{0}",
authority));
AuthenticationResult tokenAuthResult =
authContext.AcquireTokenAsync(resource,
clientId,
new Uri(redirectUri),
new PlatformParameters(PromptBehavior.Auto)).Result;
return new TokenCredentials(tokenAuthResult.AccessToken);
}
|
The code for token generation above is very trivial, but getting of all correct parameters is very, very wired.
First of all the client application has to be registered in AAD. For more information on this take a look on this post. On the picture below I have put more or lees everything you need. On left, you can see the service as it is registered in AAD.
In the client application you have to define following properties: authority, resource, clientId and redirectUri.
Authority can be grabbed out from endpoints defined by service application (green arrows). This is the identifier (tenant) defined in AAD, where both service and client are registered.
Resource defines audience or scope as specified in OAuth specification. In the web.config of the service we will specify tenant and audience.
<add key="ida:Tenant" value="b5a***"/>
<add key="ida:Audience" value="0f5***"/>
Audience value can be either sign-on URL or client id. Note that in this case that would be clientId of the service. depending on that resource will be set on exactly that value. In my example, I have used clientId.
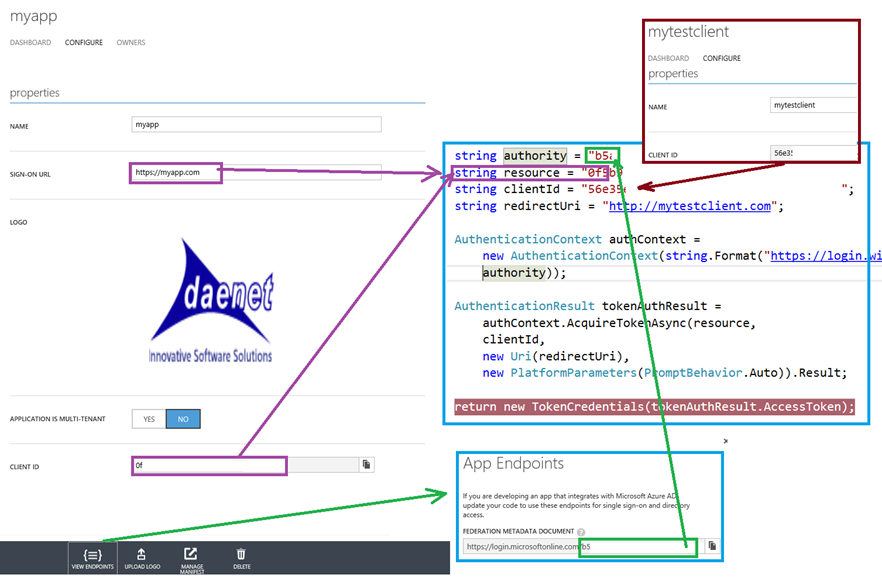
clientId is the identifier defined in the client application in AAD. See brown frame in picture above. This is the id of the application, which is authorize to authenticate on behalf of the user.
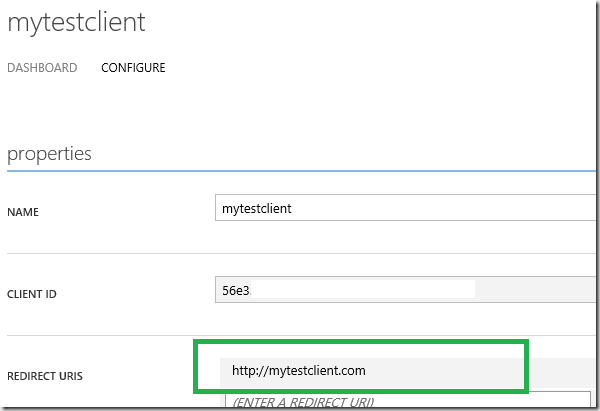
redirectUr is the redirect URI of the client application, which will be internally used by framework. That can be any URI value, which does not has to be available in public internet.
resource
is by specification ‘scope’, which AAD defines as ‘audience’. This value is in example above ‘Sign On Url’ if in Web.Config of the service audience is defined as
<add key="ida:Audience" value=https://myapp.com/>.
In other words, this is the name of protected resource. In our case the service (web api) is the resource.
However, when using adal.js in single page apps, we will commonly use ‘clientId’ as audience.
In this case set resource to "0f5b***”> and put in web.config same value:
<add key="ida:Audience" value="0f5b>
To recap, resource variable on the client side must be same as ida:Audience on the server side. This is why both arrows on left points to resource variable.
Some useful References:
https://github.com/Azure-Samples/active-directory-dotnet-webapi-onbehalfof
http://developers.de/blogs/damir_dobric/archive/2014/07/03/how-to-protect-webapi-with-azure-active-directory.aspx
https://www.nuget.org/packages/Swashbuckle
Posted
May 24 2016, 07:22 AM
by
Damir Dobric